Bimotal Elevate Screen
A reverse-engineered screen and profile control for the Elevate e-bike motor from Bimotal.
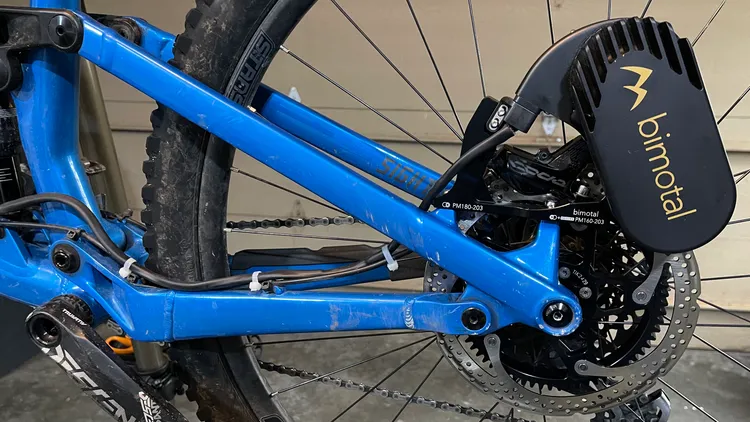
I’m an avid mountain-biker but I tend to be towards the back of the group on the climbs. When I found out about Bimotal’s Elevate motor, I was intrigued by the idea of a motor that could be attached for the climbs and removed for the descents. The Elevate’s unique design allows it to be mounted via the brake calliper posts - driving the rear wheel directly.
The only official way to control the Elevate unit, however, is through the mobile application. This means that riders have to rely on their phones to adjust settings and monitor performance, which can be inconvenient with gloved hands and wet, muddy conditions.
After contacting Bimotal, I discovered that the development of a head unit was quite far down on the feature list. I decided to take matters into my own hands and start reverse-engineering the communication protocol between the motor and the mobile application, to see if I could develop my own small dedicated control unit.
Reverse-engineering the Bluetooth Protocol
Using my Elevate and my iPhone as a sniffer, I was able to capture the communication data. With some observation and iteration, I was able to decode the packets and understand how the motor’s metrics were being transmitted - along with the format of the profile change commands. I did receive some details from Bimotal’s engineering team, who provided a formal specification of the profile change commands, but by this time I had already deduced them from the intercepted Bluetooth data. I was also told that I should be able to power the screen from the motor’s throttle connection, but this turned out not to be the case.
With the protocol clear, I was able to prototype the software for a custom head unit that could communicate with the motor and display performance metrics such as torque, power, and battery life. I was also able to send profile change messages to the motor and confirm the responses.
Hardware Selection
I needed off-the-shelf hardware that could fit in a compact enclosure and had Bluetooth LE capabilities. I settled on the ESP32 microcontroller, which is a popular choice for DIY electronics projects due to its low cost and versatility. Some popular versions of the hardware also included LCD displays, which made it a convenient choice for the head unit.
I settled on a couple of different ESP32 boards initially.
- The WaveShare C6 1.47” board
- The Xiao Seeed C3 with a 1.28” circular LCD display.
The software was developed using the ESP-IDF framework - the official development environment for ESP32 microcontrollers. I initially used the Bluedroid library provided by ESP-IDF to implement the communication protocol with the motor. The display was driven using a combination of the LVGL graphics library and custom LCD driver / render code to show the performance metrics and profile information.
Power Management
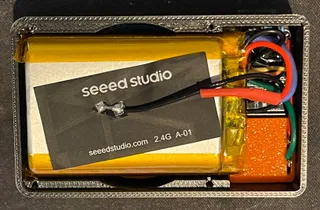
I needed to implement a power solution for the head unit, as the motor’s throttle connection did not provide enough power to run the display and microcontroller. Two of the initial prototypes used a 1Ah lithium-ion battery and the charging circuit on the Seeed C3 board to power the head unit independently. This added considerably to the size of the unit, along with the cost. The ESP32 is not particularly power-efficient.
Following feedback from my initial prototype testers, I decided to switch to a more compact solution that could be powered directly from the motor’s main battery. Using a suitable buck converter, connected to the main battery, power is stepped down to 5V, allowing a far smaller physical design. After a few different iterations using off-the-shelf boards from AliExpress, I ended up designing a custom enclosure for a small board.
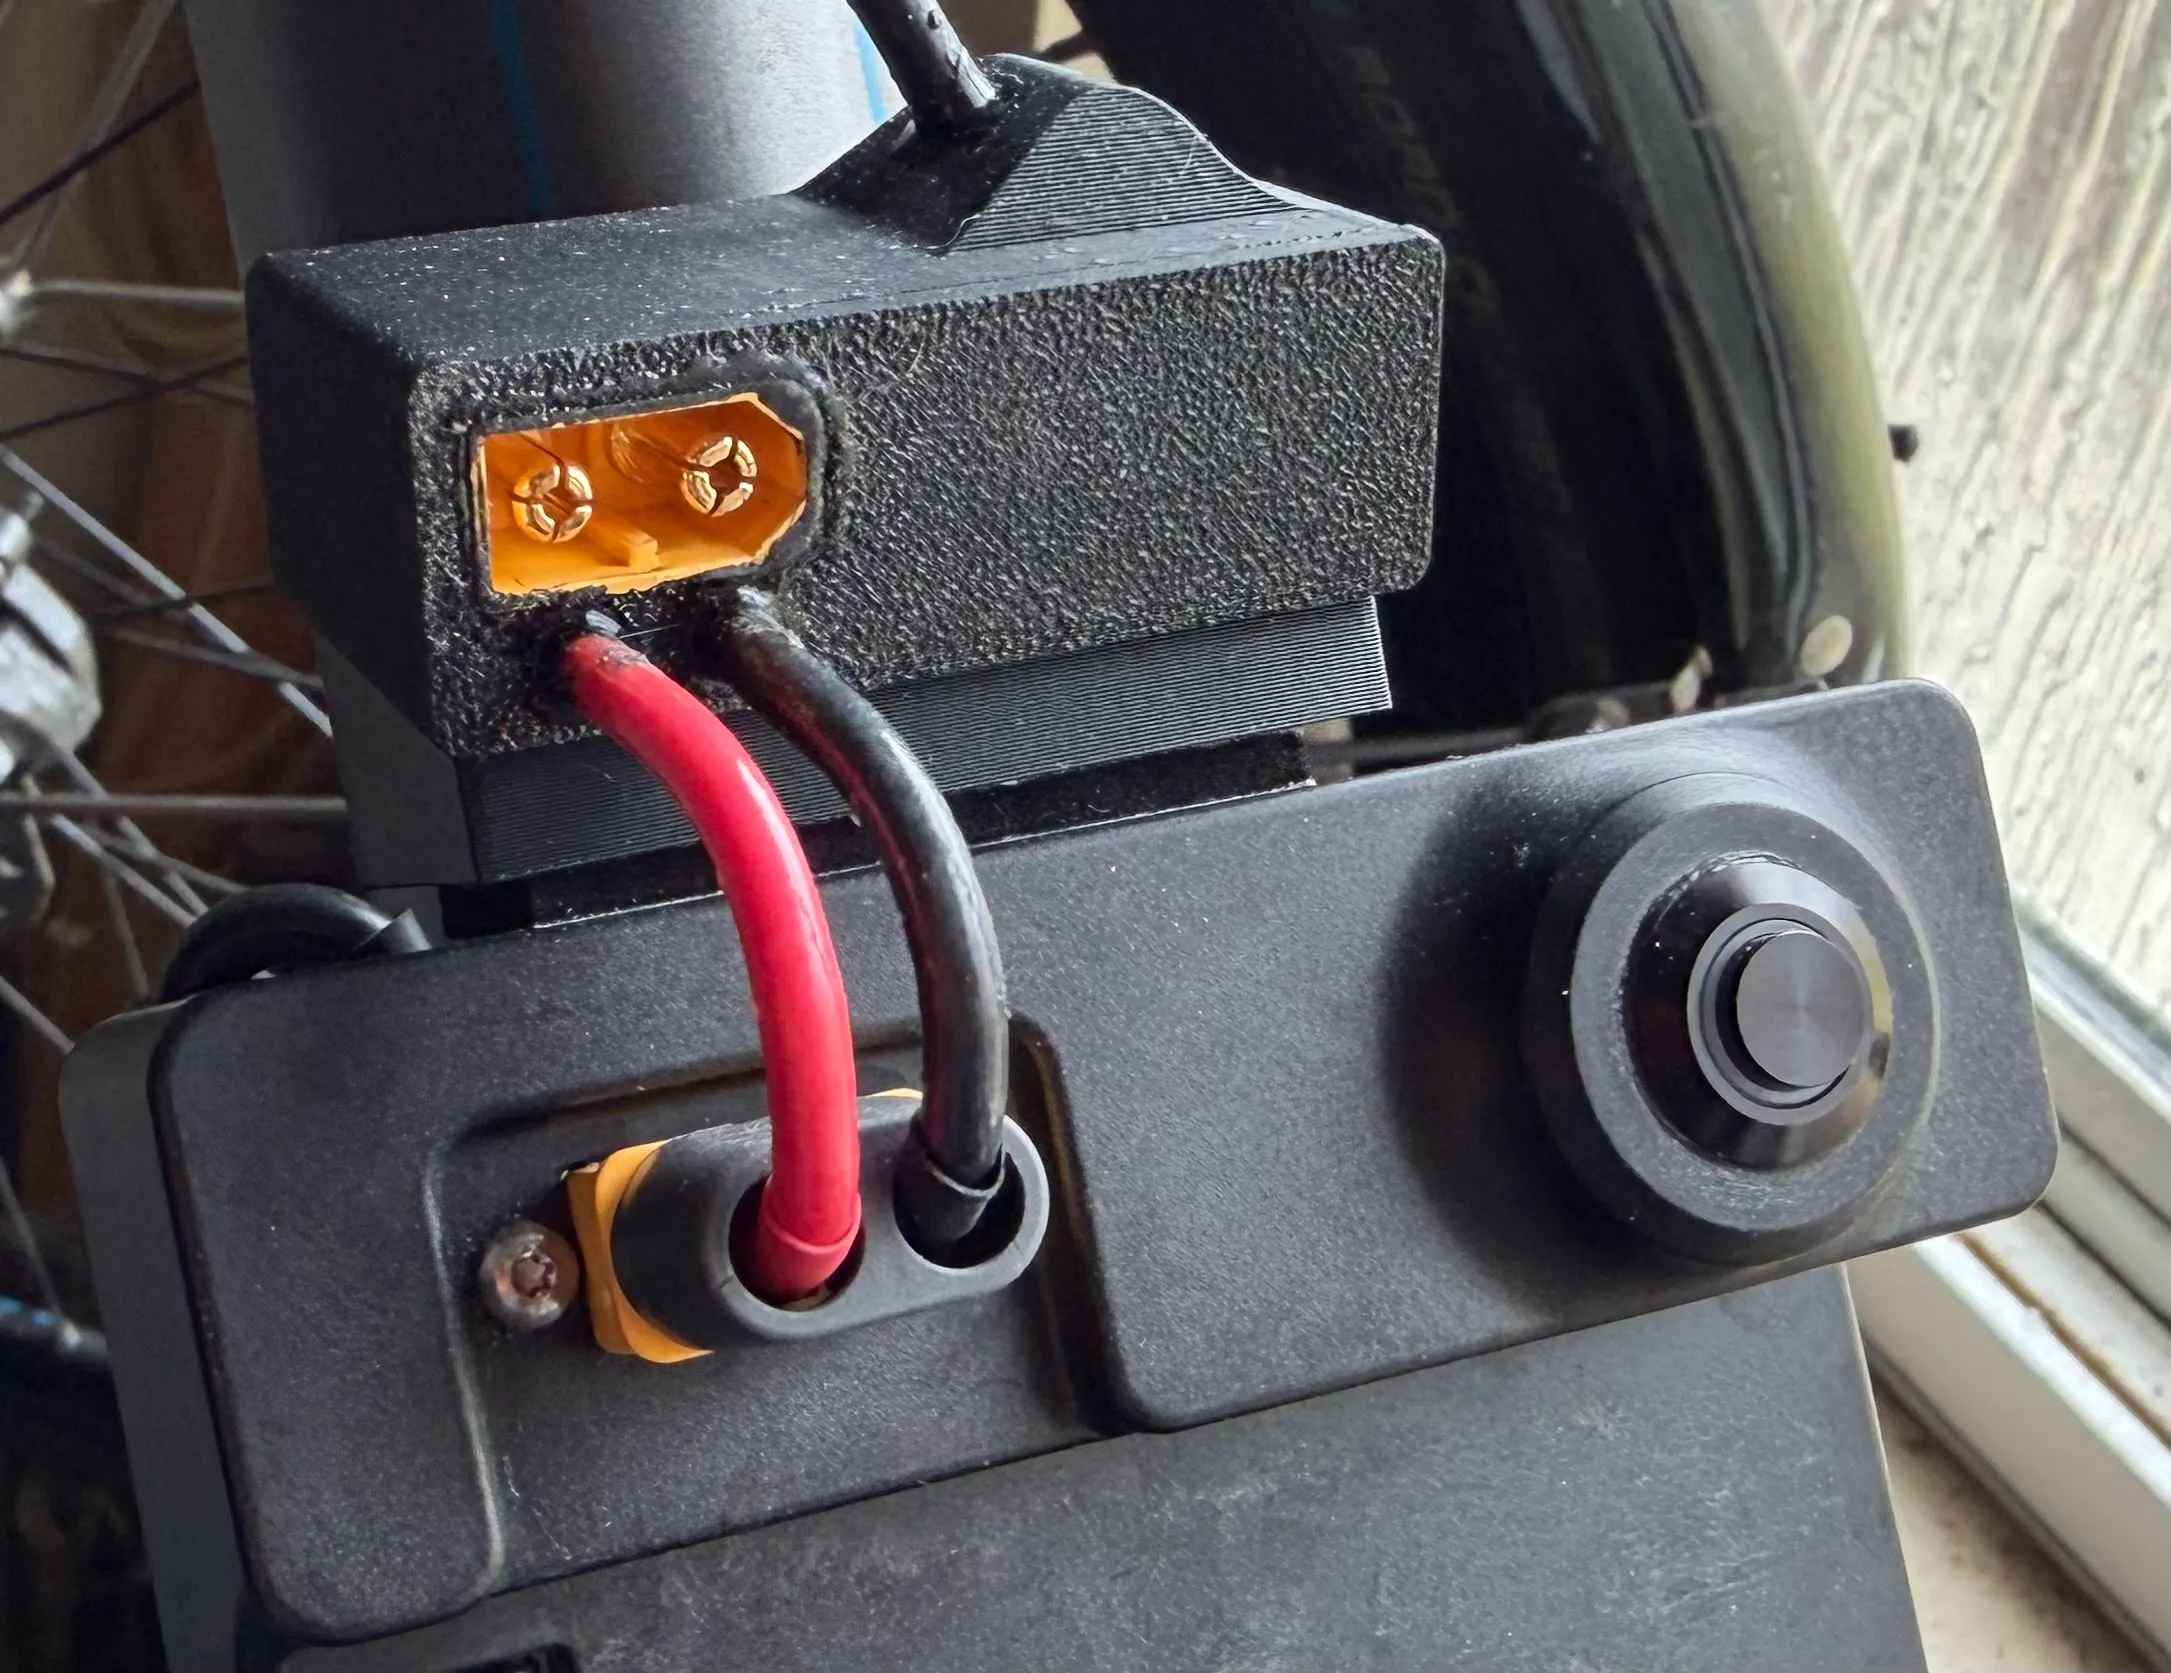
The 12 gauge wire should be sufficient for handling the amperage…
Controls
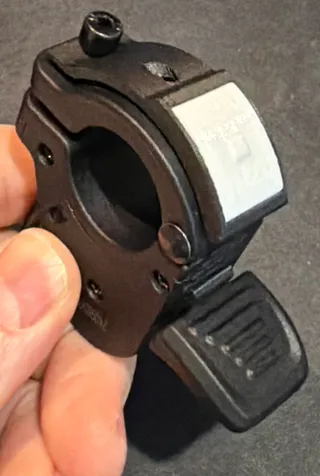
I wanted to keep the controls simple but functional. The initial rechargeable prototype had a single button on the unit. This required taking a hand from the bars to the unit to press the button. Off-the-shelf motorcycle horn buttons could be used, but I designed a slimmer button to mount on throttle and not need more handlebar space.
Through a combination of short and long presses, the required functionality could be implemented. This ended up being:
- Single Short Press: Wake / Cycle through the different profiles (Boost -> Range -> Trail)
- Double Short Press: Disconnect and transition to hardware deep sleep
- Long Press: Reset the bluetooth ‘pairing’ to enable connection to a different motor
I use ‘pairing’ loosely here as it’s more of a memory for the motor to use. Keeping this simple, the software will bond with the first Elevate drive unit that it successfully connects to.
User Interface Design
LVGL is a small library for building user interfaces and has a port for the ESP series of chips. It can handle multiple different types of displays (orientation, dimensions, type) and can be fine tuned for both memory and power use.
Using Squareline Studio and a custom board package, I designed the interface.
During prototyping, I tried some OLED displays in addition to the two LCDs shown. Ultimately, the price and brightness of the LCDs in bright sunlight won.
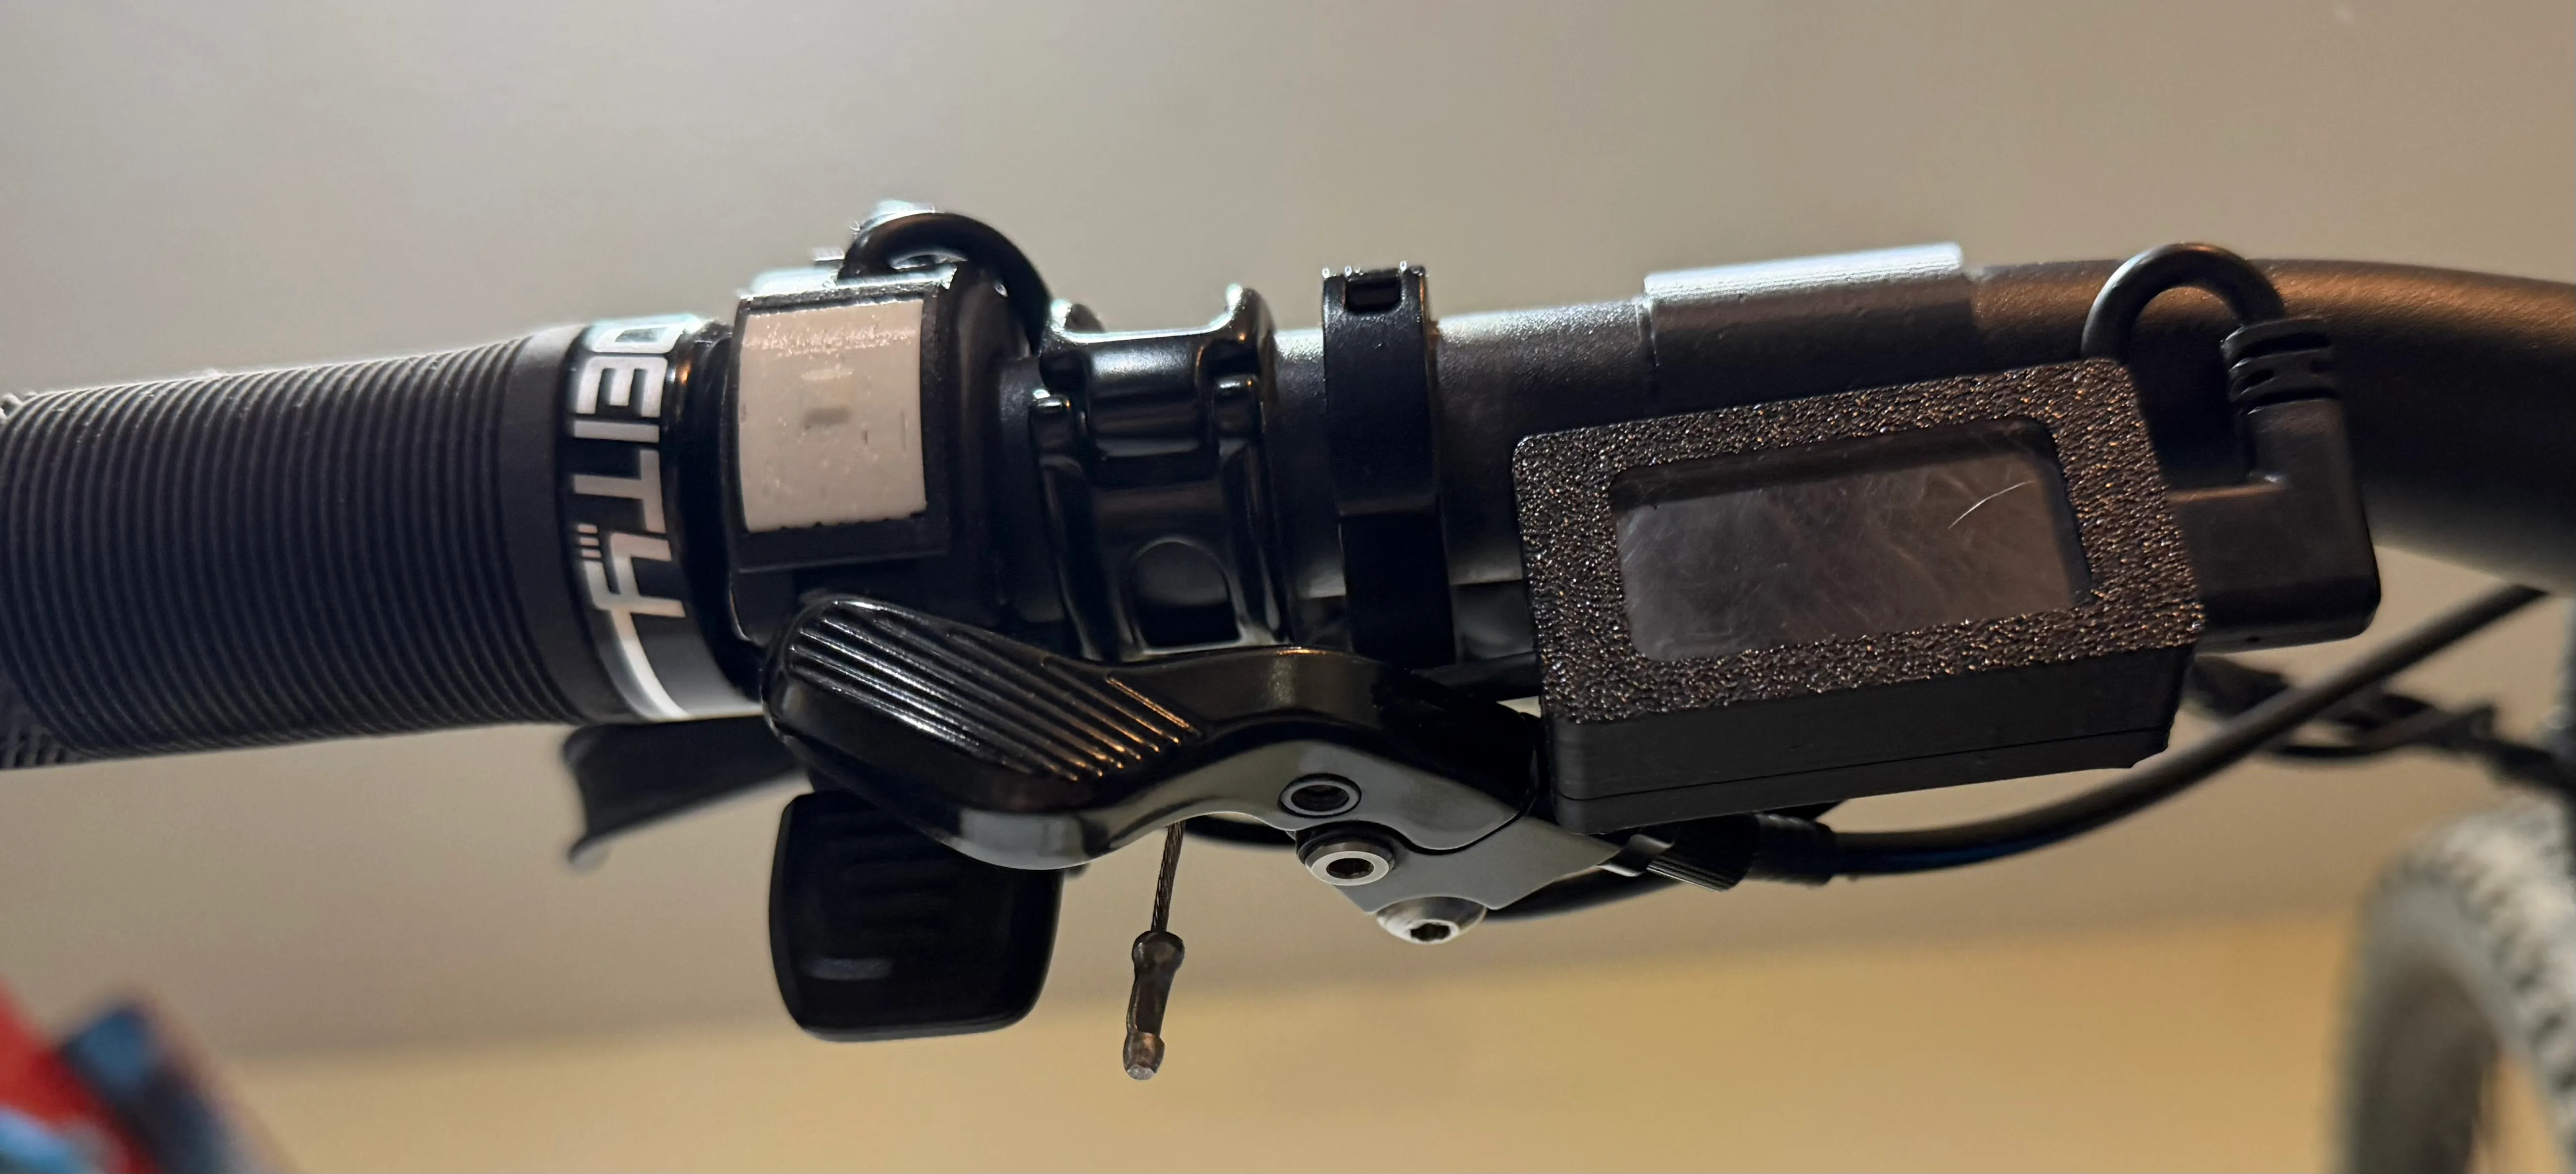
Final Prototype
The final product is a small head unit that can be mounted on the handlebars of the bike, providing real-time performance metrics and allowing the rider to switch between different profiles without needing to pull out their phone. The head unit is powered by a 5V step-down supply from the main battery and communicates with the motor via Bluetooth LE, providing a seamless and convenient user experience for riders of the Bimotal Elevate e-bike.
If you have an Elevate and you’re interested in one of these screens, drop me a line!